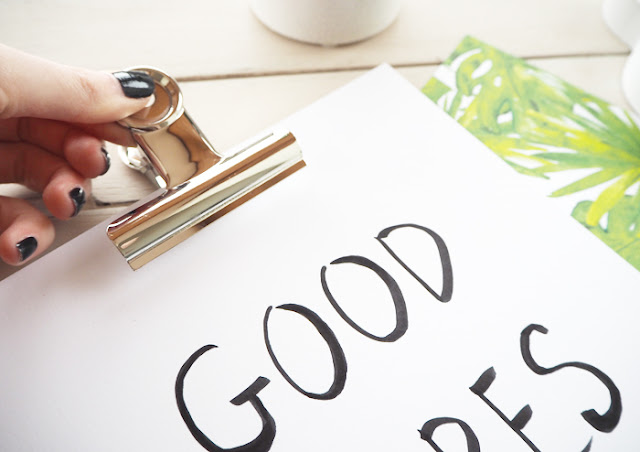
Please tell me I'm not the only one who pins endless amount of quotes on Pinterest just because the typography is so beautiful?!
I wanted to give brushlettering a go for a while, so ordered myself a set of pens from ebay and decided to create some simple wall art to start off with. I've read a few posts about brushlettering and the main thing I picked up was that it takes a lot of practice, you are never going to get that delicate, curved type straight away but everyone has to start somewhere, right?
Read on to hear a few lessons I have learnt during my first attempt at brushlettering and see how I created these cute wall hanging quotes...
You will need:
Thick card
Pens: Ebay £6.99 for 3
Bull dog clips (75mm) : Ebay £4.49 for 10
Craft papers (optional)
The pens I used had two nib choices, I chose to use the larger pointed nib for my work as I thought it would give the best brush effect.
To start I tested my brush out on some scrap paper, this allowed me to see how the brush handles and the amount of pressure I could use. A really great way to start styling your type is to go through the alphabet and 'establish' your style. I did a few alphabet sheets until I was happy with the way the letters were forming.
My technique involved creating a thin line first by using the tip of the brush, then forming the rest of the letter by using the side of the brush in a quicker sweeping motion. Think about it in degrees, I started at at 90 degrees to the paper and when I wanted a thicker line moved the brush to about 45 degrees to the paper. By alternating between these techniques I created letters with varied thicknesses. I found the letter S and the letter E hardest to create but after a few goes I found something I was comfortable with.
Once you are happy with an alphabet, use this as a reference to work on the card and create a quote. Having the alphabet next to you while you write will remind you how the letters were formed. I wanted something positive and fun for my bedroom so thought 'Good Vibes' and 'love always' were cute and simple. If you are stuck for ideas just search Pinterest or instagram for quotes or wording that will inspire you.
Using card means the quote can hang up using a simple bull dog clip. I pinched the card between the bull dog clip and hung it on a small picture nail on the wall. I have see a lot of wall art that uses clips like this, either backed on a clipboard or on their own. Check out my pinterest board for inspirations and ideas for quotes.
The best bit about these prints is that they can be quickly swapped anytime you fancy a change, simply clip a new quote on!
These pens are much easier to control and less messy than using calligraphy inks. I feel you can take more time and it is easier to edit any lines you want thicker or more curved.
My
brushlettering obsession is sure to continue so keep an eye out for
more tutorials involving lettering like this, if you have any
suggestions of things you would like to see just tweet me!
Thank you for reading lovelies!
Thank you for reading lovelies!


No comments
Post a Comment