Chokers have become a bit of a throwback accessory this year, and I must admit I love them! They instantly give any outfit a 90's vibe whist being really easy to wear. It's simple to make your own as well, great news if you need an outfit update fast.
Here's how I made a DIY circle pendant choker....
You will need:
Eyelet (try these)
Cord or ribbon (I used suede feel cord) approx 1 meter
Scissors


Measure around your neck then double that number, and add a little extra to allow you to tie the back. Cut your cord or ribbon to fit this length. Then fold it in half and cut again, so you are left with two pieces the same length.


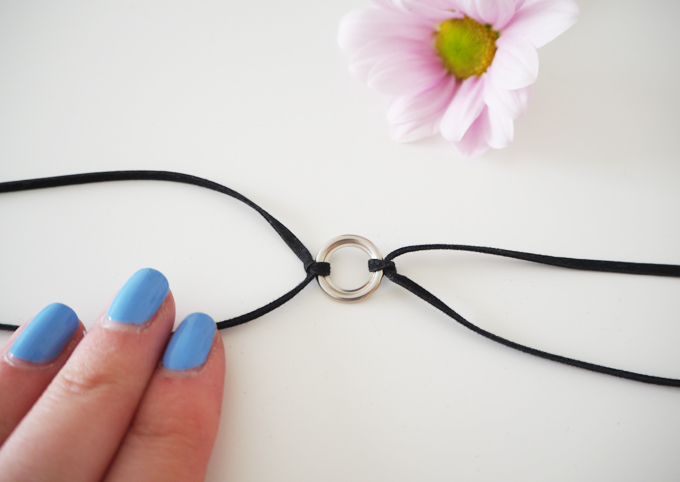
Pass one length through the eyelet, folding in half when the eyelet is half way along the cord. Do the same with the other piece and pull to opposite sides of the eyelet.
Next tie a knot in each piece to make sure they are tight to the eyelet.


Pull the two cords away from each other and there you have it, your choker is done! All that's left to do it try it on and tie a bow at the back. You could twist the cords or leave just as is, either way this simple DIY choker is an easy way to update any outfit this summer.
What are you making this summer?
I would love see your DIY fashion creations! Let me know on twitter.

Follow me on pinterest for lots of crafty inspirations.
Anna
x
No comments
Post a Comment